Using styles in Google Docs
One underutilized feature of word processors is the ability to apply styles to text. I’ve mentioned styles in Google Docs before, but today I want to look into why you would use styles. In simplest terms, styles allow you to consistently format your document while also allowing you to change the look of an entire document just by changing the style.
Styles in practice
Let’s start by creating a document:
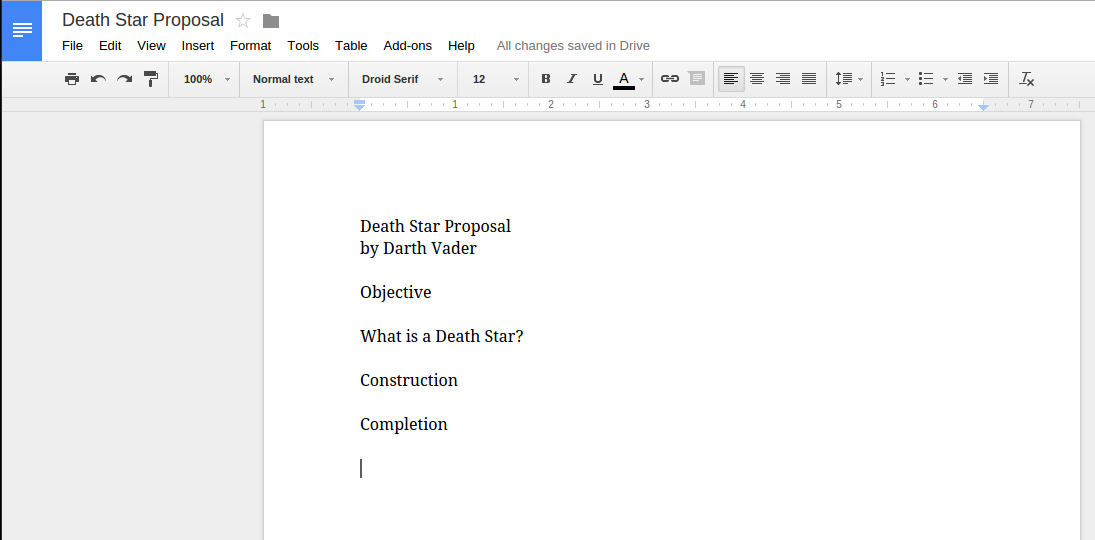
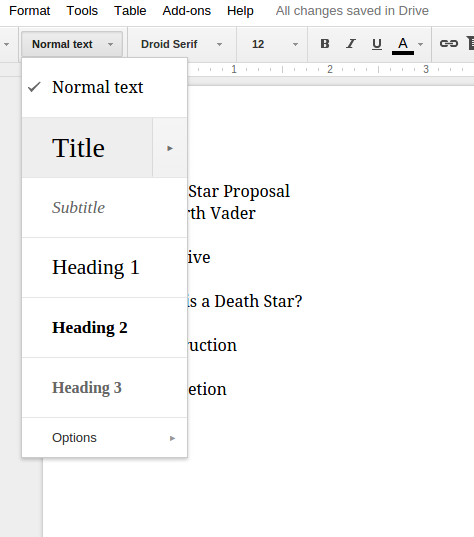
Each line of text is going to be a new heading in my document, while the first line will be the title. Now I could highlight the text and change each line individually (or highlight the entire document, but that would affect the formatting of the text in the document, of which I would then have to go back and fix). What I’m going to do is apply the Title style to the title, Subtitle to the byline, and Heading 1 to each section heading. To apply a style, put the cursor in the line you want to change, and then select the Style from the menu.
And now the title has changed.
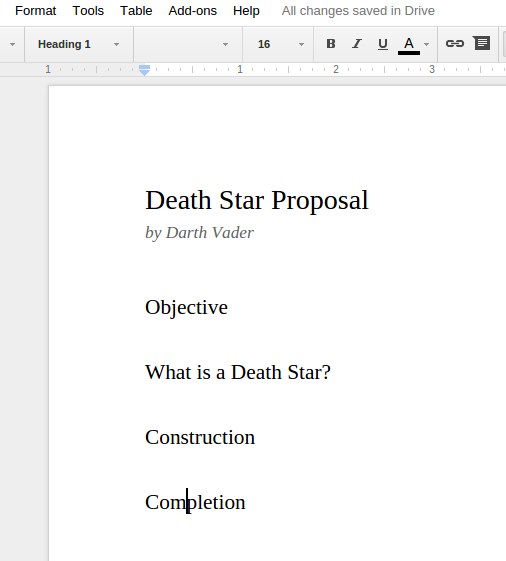
I’ve gone through and changed the styles for all of the headings using the Style. Selecting Header 1 for the style is a simpler, and more importantly, consistent, rather then applying a font, size, and style for each line.
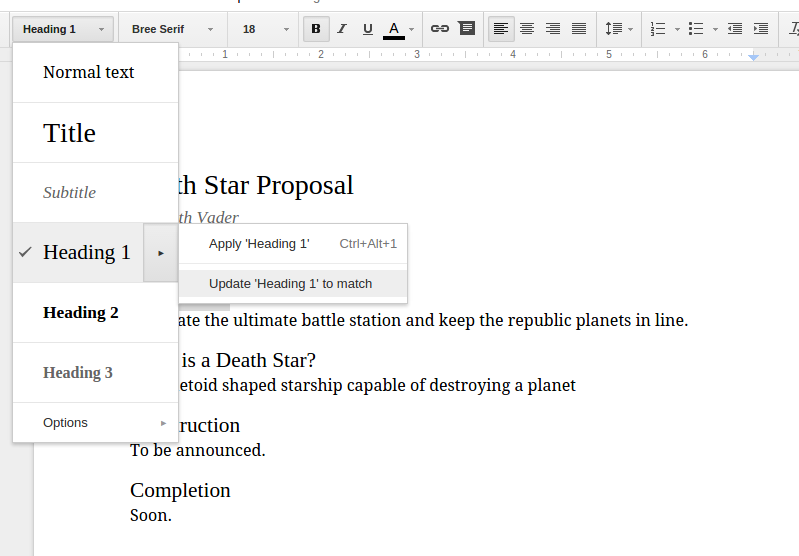
After my document is completed, I may want to change the look of the headings. To do this, I highlight one heading and apply my changes.
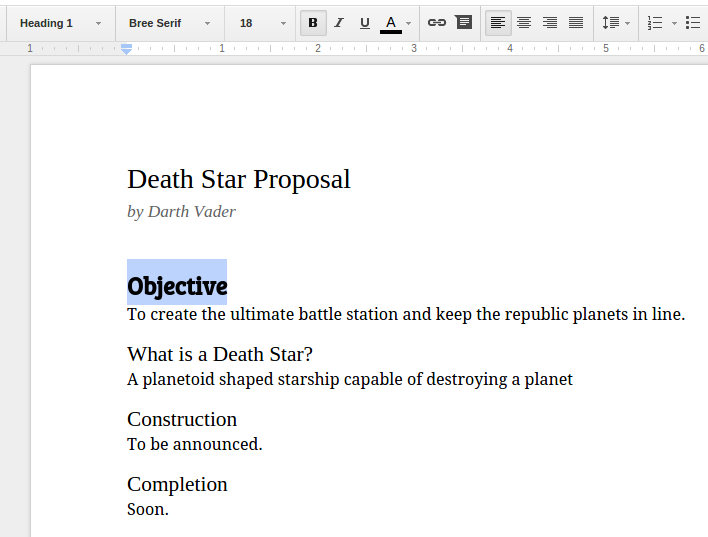
I’ve changed the font, size, and style of the text. To change the Heading 1 style, I will use what we learned from changing the default styles. Click on the right menu beside the Heading 1 menu item and select Update Heading 1 to match.
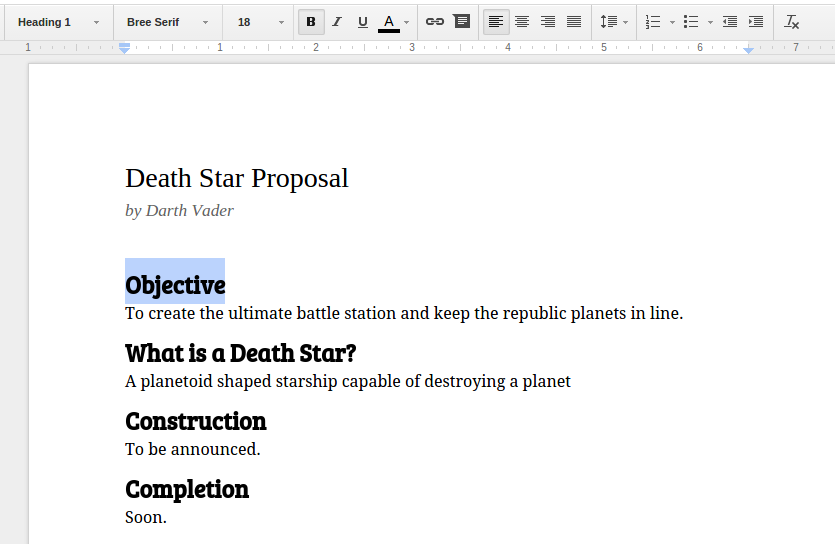
And like magic, all the headings now look the same!
Styles give you a lot of control of how the document looks. I can’t underestimate how important consistency is with a document which styles help you achieve with minimal effort.