#b2s 7. Lay out your classroom
This is part 7 of 13 things to do before the first day of school.
Who doesn’t like to drag furniture around their classrooms for hours trying to find the perfect arrangement? Well, pretty much everyone, but that’s why we have computers. There are tools you can use to lay out your classroom on the computer with a whole lot less of blood, sweat, and tears. Grab your tape measure and let’s get started!
Lucidchart to the rescue
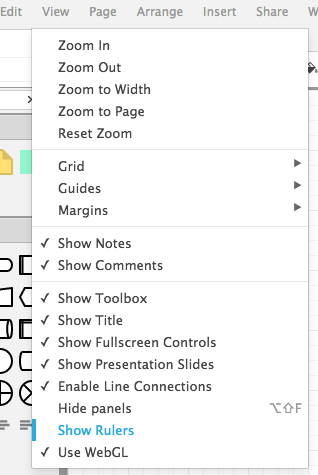
Lucidchart, which is free for schools, is more than just flowcharts. You can use it to layout your classroom. When you first start your project, you will want to turn on rulers under the view menu.
Next you will want to decide on a scale for your classroom layout. If you let 1/2″ = 1 foot, you can layout a 17′ x 22′ classroom on an 8 1/2″ piece of paper. Once you have your scale, measure your desks, tables, chairs, etc. and convert their measurements to inches. For our example, you can divide the measurements in feet by 2 and get the number of inches, a 2.5′ x 6′ table would measure 1.25″ x 3″ in LucidChart.
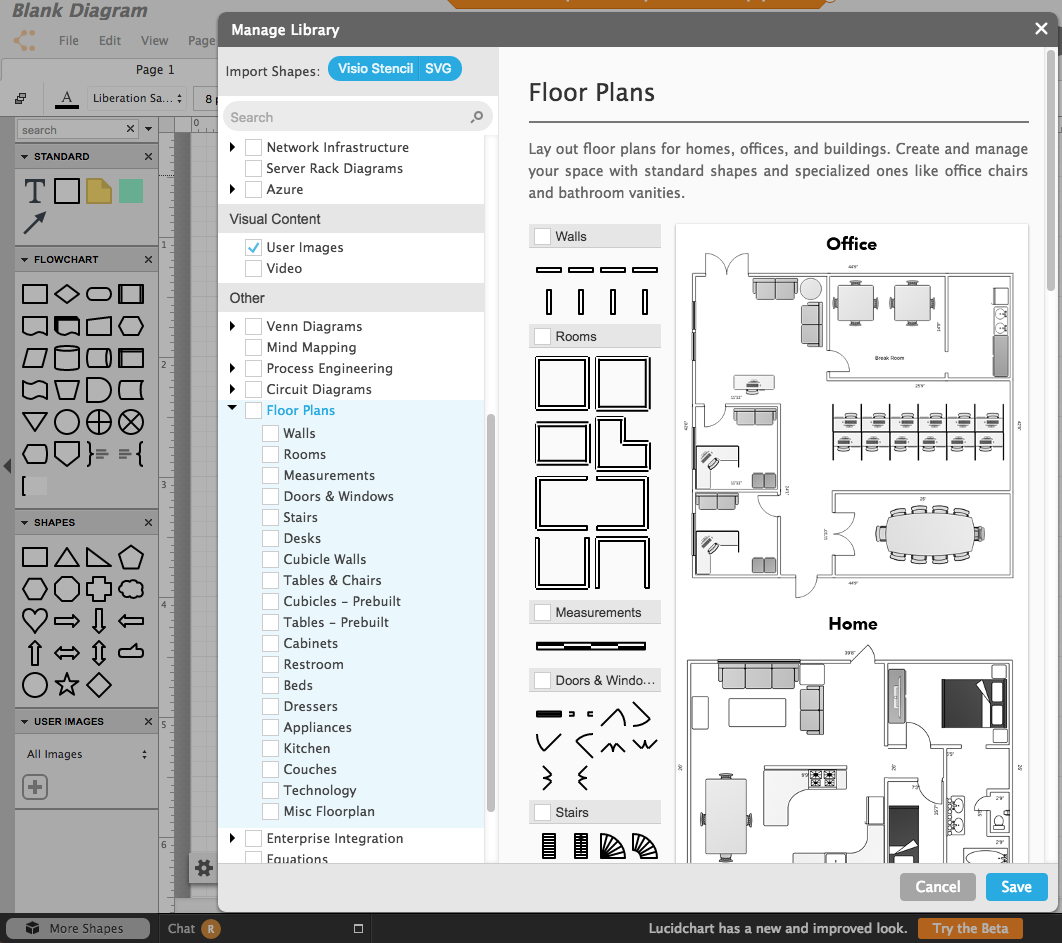
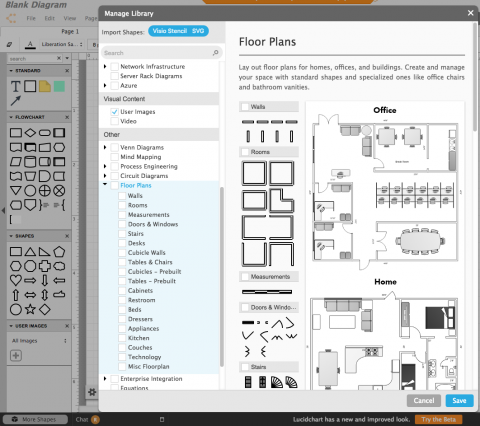
Get more shapes
Click on More Shapes in the bottom left of the screen, and put a check beside Floor Plans under Other.
Now you can layout your classroom, starting with the walls, and placing your furniture where you want it. be sure to keep enough space around the furniture to move, and be aware of traffic patterns. Also, try to few the classroom from your student’s eyes. For example, if the reading area is in a particular place in the classroom, what will the students see when they’re in that area?