Screencasting tools for teachers, free and non-free
There are many tools out there to help with creating screencasts. Some are free while others have a cost associated with them. Here are some of the screencasting tools that I use.
When looking at screencasting tools, pay special attention to the work flow. If creating screencasts is too cumbersome, then you won’t want to do them. I try to pick tools that are really easy to use, but more importantly, get out of the way.
Non-free screencasting tools
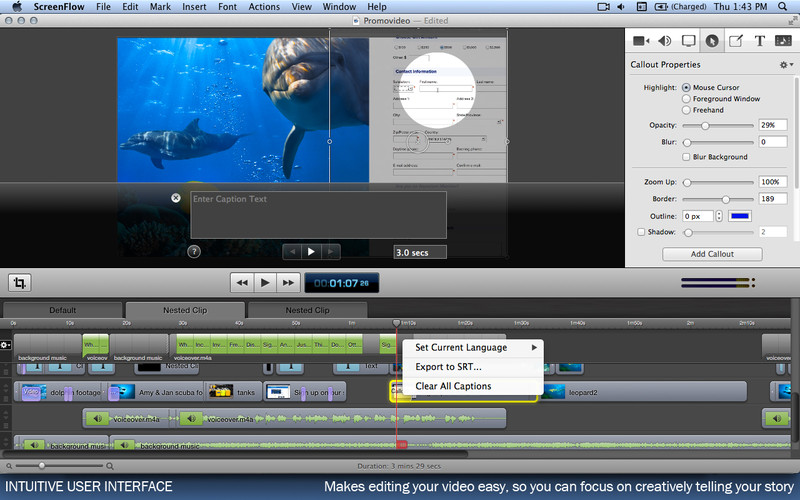
In the non-free category comes Screenflow ($99) for the Mac.

Screenflow is very powerful, with a focus on post-production. After the screen cast is recorded you can add call outs or graphics, text, and other multimedia elements to make your screencast stand out. Unfortunately for Windows users, it is Mac only. Windows users can look at Camtasia for a paid option.
Free or OpenSource screencasting tools
While I researched this topic, I came across a gold mine of information in a very unlikely place, gamers who livestream their games. This led me to OBS Studio (Free), available for Windows, Linux, and macOS.

Unlike Screenflow or Camtasia, OBS Studio focuses more on live productions. You can get pretty fancy, setting up different scenes which use different sources. In its simplest form, you can set up one source for your scene, the Desktop, and start recording. OBS Studio is a pretty awesome solution, and it’s open source and free.
MacOS users have Quicktime Player (free) that allows screen recording.

While Quicktime Screen Recording is built in and free, it can only record one device at a time and only one audio source at a time. This means when you’re recording the screen you can record your voice or the computer’s sound, but not both.
Mobile devices
Android devices can now record directly on the device with the YT Gaming app.
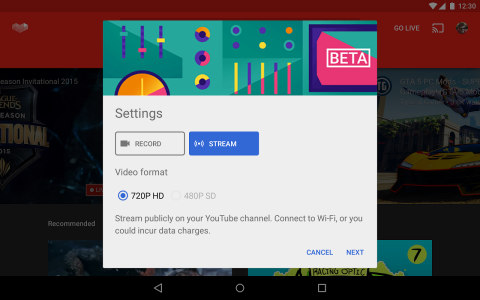
The screen recording is pretty cool, putting a webcam view in the bottom left and recording audio from the microphone in addition to the device sounds. Once the recording is finished, YT Gaming will want to upload to Youtube, but you can back out of that window and not upload. Screencasts are saved in a Screencasts folder.
On iPhones and iPads the situation is a little tougher. But tough doesn’t mean impossible. Apple added ReplayKit to iOS 9, a framework for developers to add screen capture to their apps. This only works in apps when the developer has added it, so unfortunately it can’t be used to capture any regular app. Outside of games that support ReplayKit, you’ll require the use of a computer to record your iOS screens.
If you have a macOS and Windows computer handy, you can use AirServer ($) or Reflector 2 ($) to record your iOS device. These apps will mirror your iOS devices to the computer and record the screencasts. If you have a Mac, Quicktime Player will also record iOS device that are plugged directly into the computer.
When it comes to Chromebooks, the best screencasting software that I’ve found is Nimbus Screenshot and Screencast extension. Not only can you record screencasts but you can also take screenshots and mark them up. Videos from Nimbus are in the .webm format, so if you are going to use the screencasts somewhere other than Google Drive or Youtube, you’ll probably need to convert the video file.
A hardware solution
Finally, there are other gamer recording devices that would also work in the classroom. The one I’ve tested is the ElGato Game Capture HD device ($130).
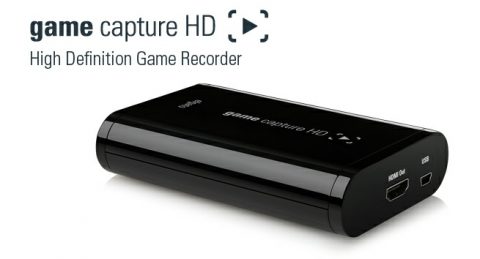
This device will take HDMI or analog video input and allow the video to be captured on a separate computer. With this device you can record anything that has HDMI or analog out. With the game capture HD, you can record other devices, such as document cameras.