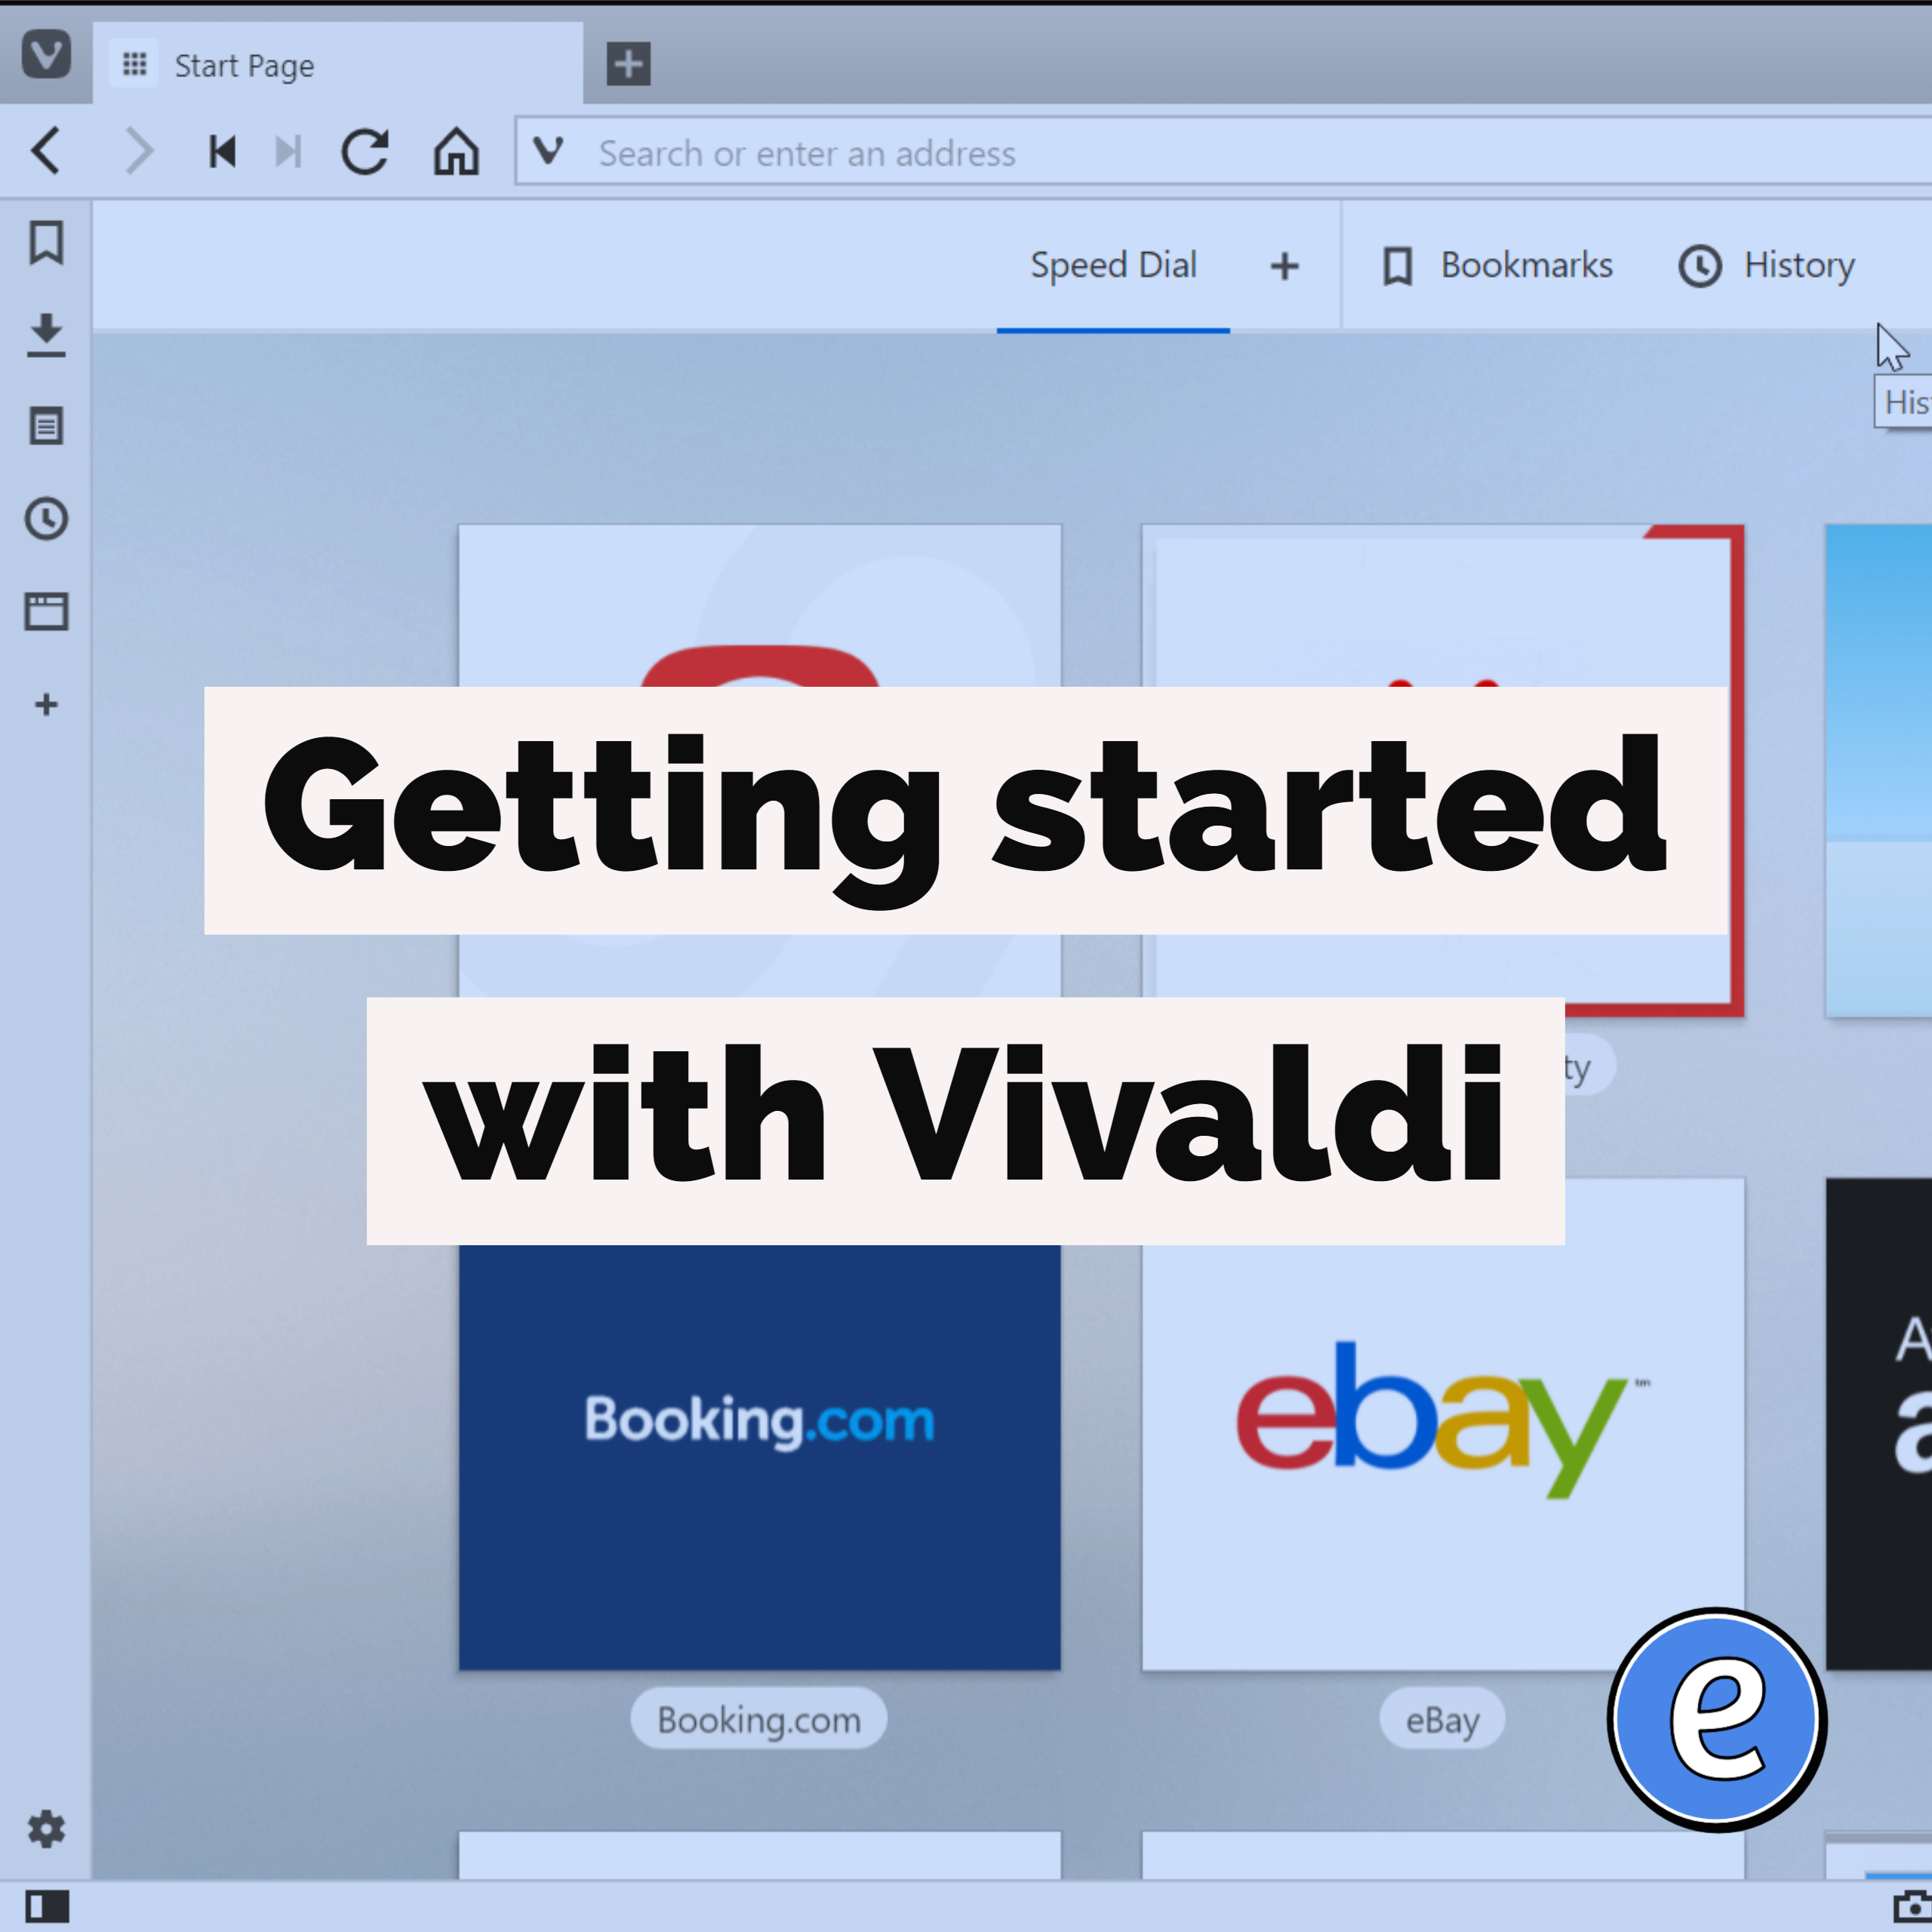
Getting started with Vivaldi
Getting started with Vivaldi.
Source: The browser that puts you in control | Vivaldi
I hope I piqued your interest in the Vivaldi browser last week! This week I’ll be showing you how I set up the browser. The browser is available for Windows, macOS, and Linux.
Getting started with Vivaldi
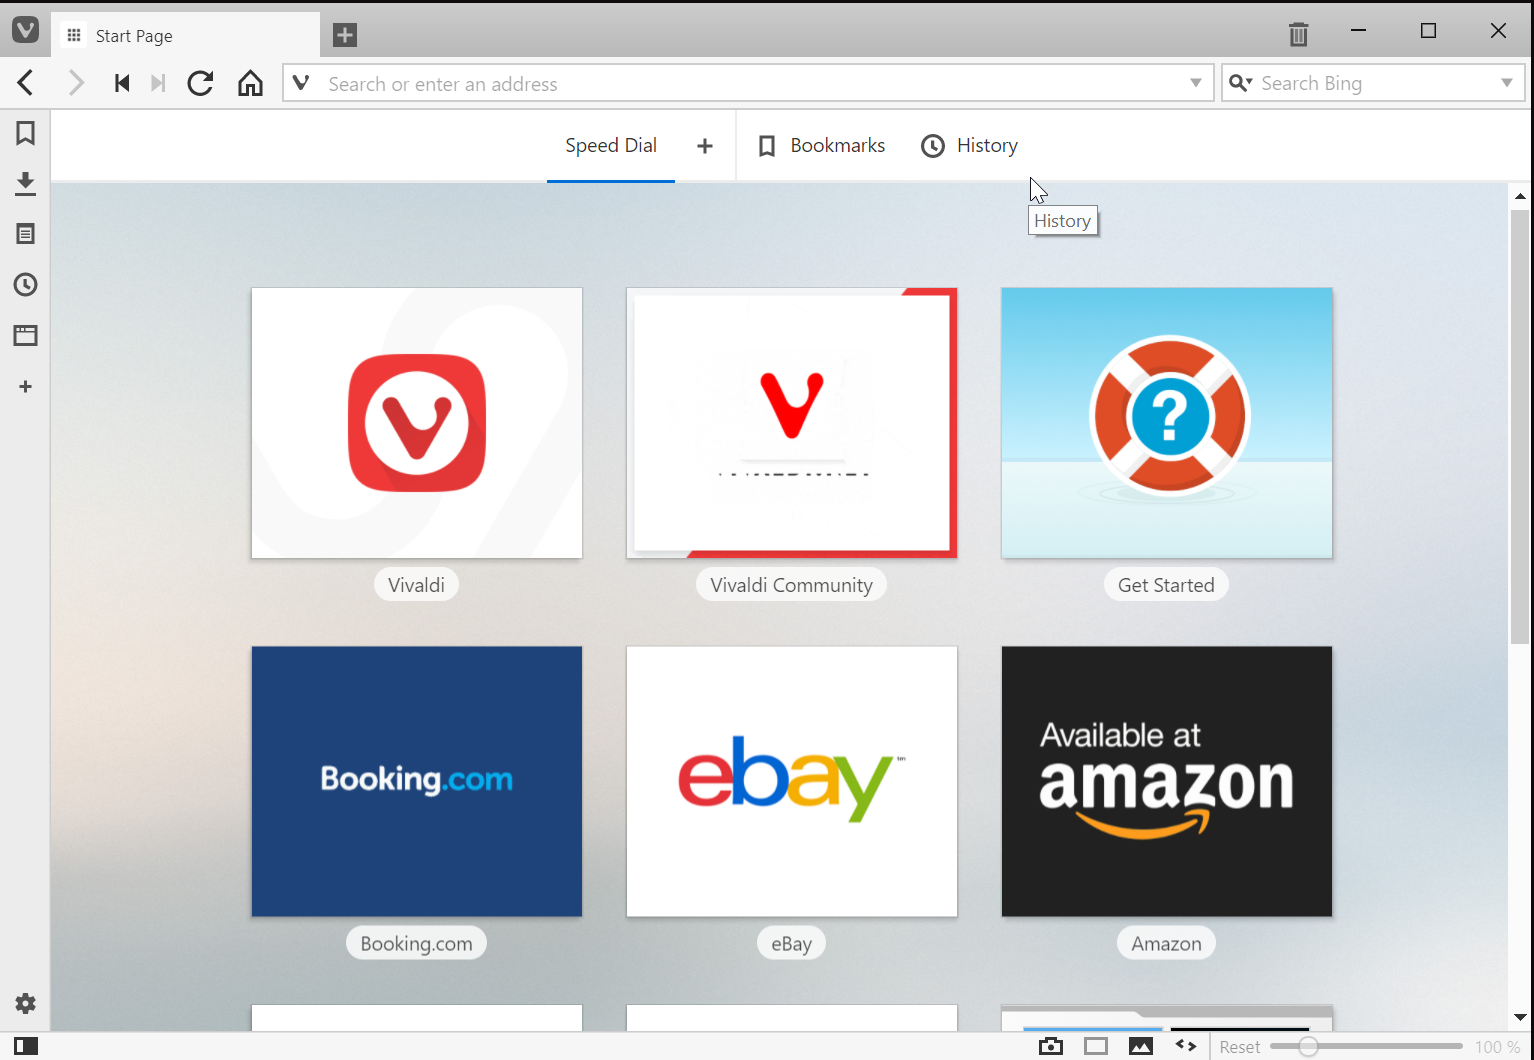
Downloading
To download the browser, head on over to Vivaldi’s website. The version of the browser for your current operating system is automatically selecting. Click on the green button to download the version of Vivaldi for your machine.
Installing
Once you have downloaded the browser, you can install it. The directions will vary depending on your operating system, but if you have installed other apps there won’t be any surprises for you.
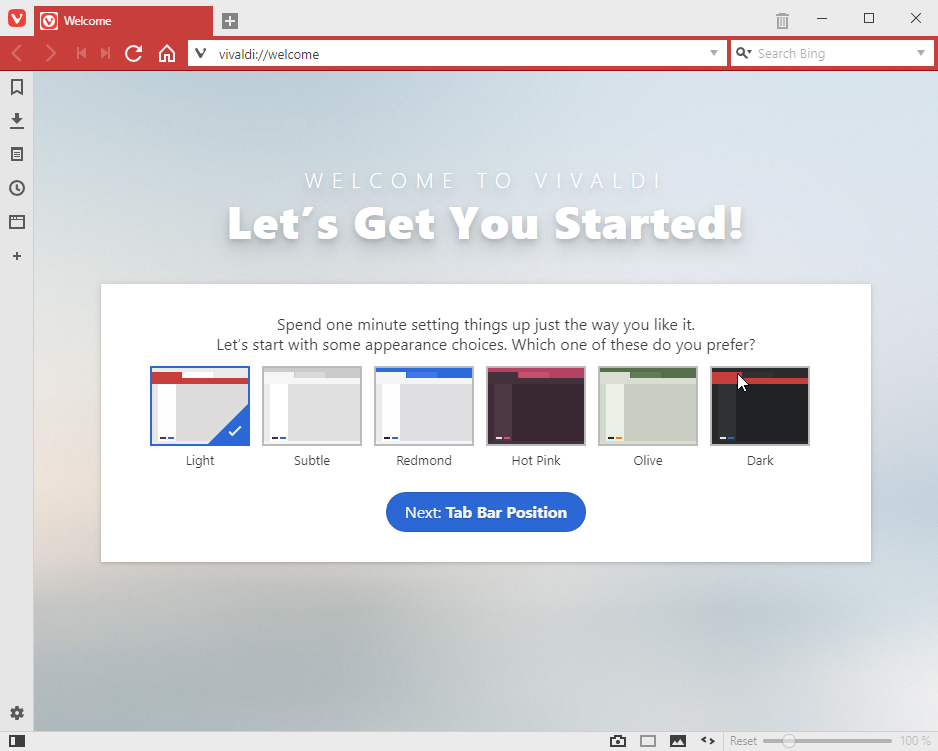
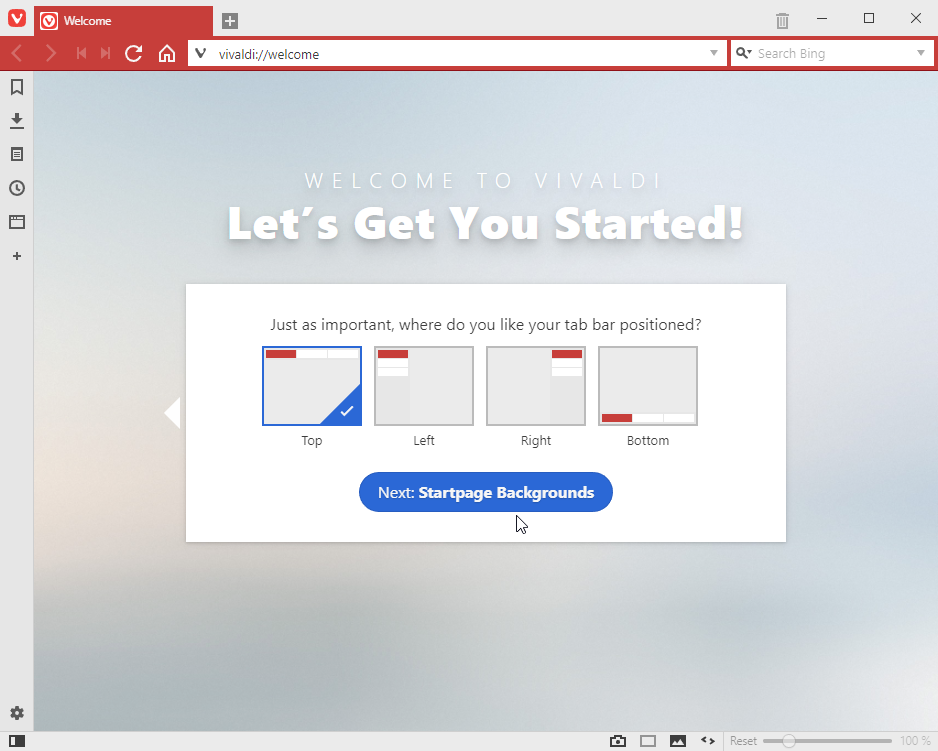
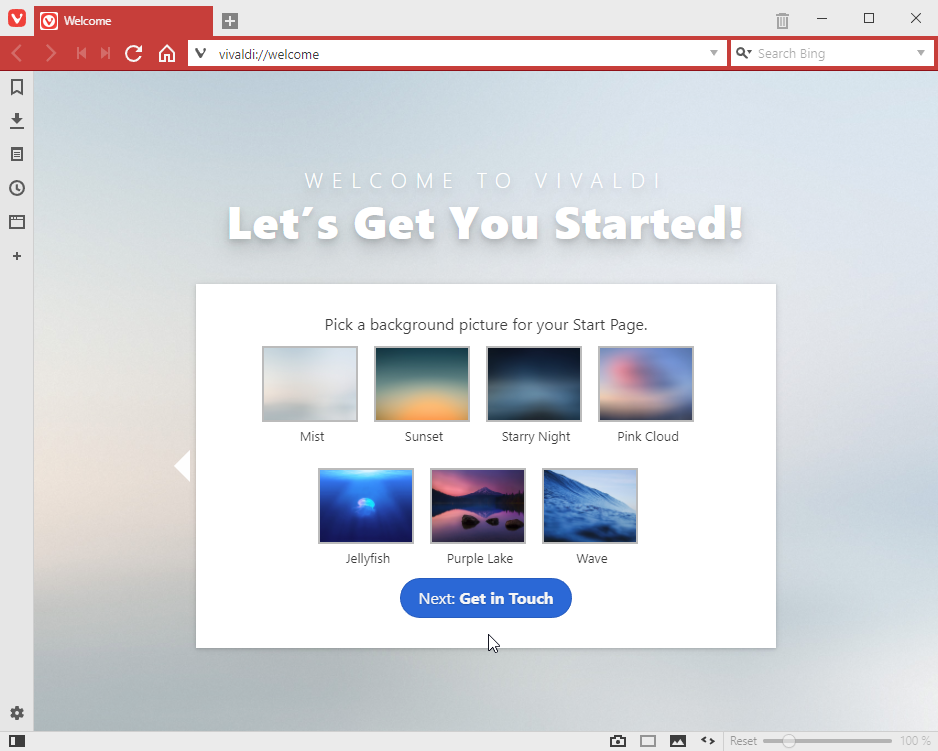
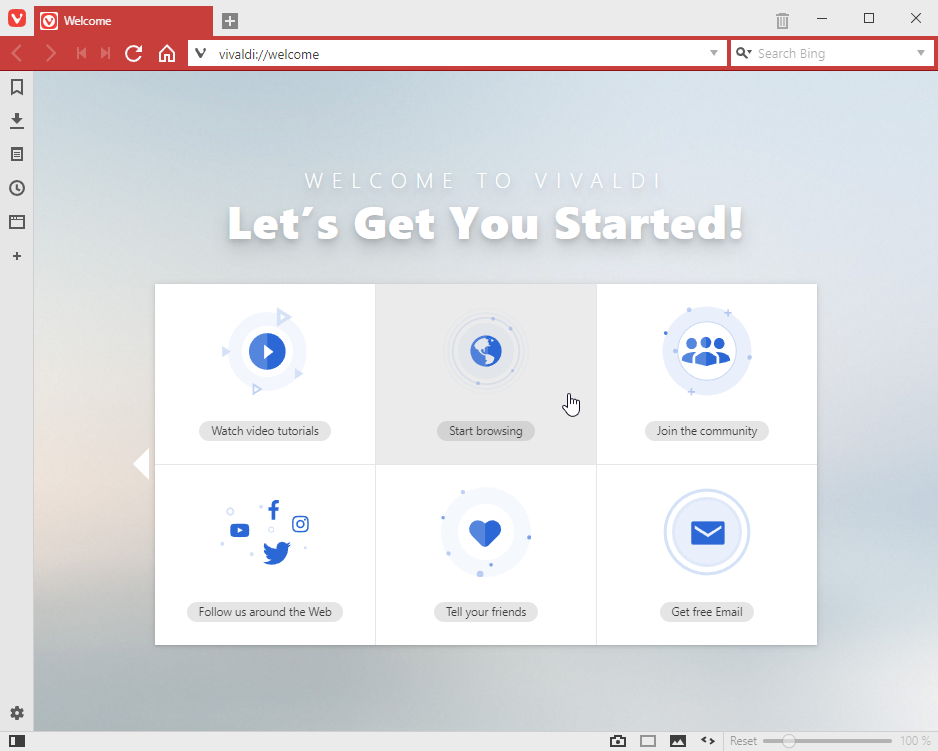
First run
Set up wizard
Vivaldi starts with a wizard that will set up the initial browser.
Preferences
These are some of the preferences that I choose to set after the initial install. This is by no means a definitive list, and you’ll probably have some changes or additions to make Vivaldi your own.
Set default browser to Vivaldi
Once the browser is set to default, opening links from other apps will open them in Vivaldi. This can be annoying if it isn’t set, since then your old browser would launch when you click on a link in another program.
Turn off opening of the web panel for downloads
This is a setting I find annoying. By default, anytime you start downloading a file the side panel opens up to show you the download. Turning off this feature stops that.
Setting the default search engine
I’m still a sucker for Google, so I switch the default search engine from Bing to Google.
Conclusion
I hope you have had a chance to check out Vivaldi, and to play around with it. After getting started with Vivaldi I’ll be digging into the browser deeper next week.