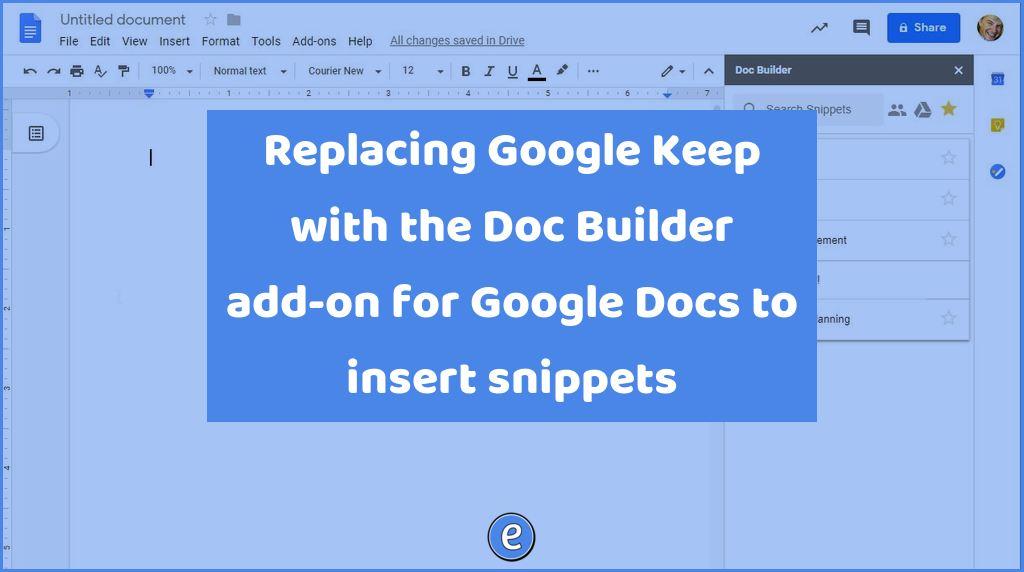
Replacing Google Keep with the Doc Builder add-on for Google Docs to insert snippets
Source: Doc Builder – Google Docs add-on
Teachers have to create a lot of documents, such as lesson plans and lesson activities. To create a new lesson plan, the workflow usually consists of copying an older lesson plan and editing that. This works ok, but it is cumbersome when you want to take various bits from other lesson plans, doing a lot of copying and pasting. There has been a lot of discussion and posts on using Google Keep to store your snippets and insert them in to documents. This works pretty well, but falls apart when it comes to sharing and organizing thousands of snippets. Why thousands? Think of all of the Common Core or state standards that you use.
The Doc Builder add-on for Google Docs is designed to help you quickly create new documents based on snippets. Unfortunately, you can’t insert snippets into comments in Google Docs, nor use Doc Builder with anything but Google Docs. The Doc Builder add-on works well for creating documents.
Getting the Doc Builder add-on
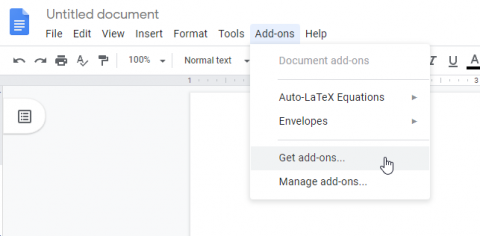
Google Docs add-ons are added while in a document. Under the Add-on menu, select Get Add-ons
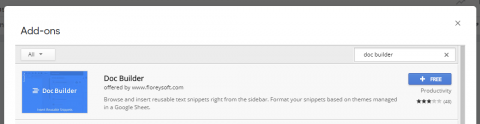
Search for Doc Builder, and click on the free button to add it.
Google will show you the permissions required for the add-on, to which you will need to agree to finish the installation of the add-on.
Using Doc Builder
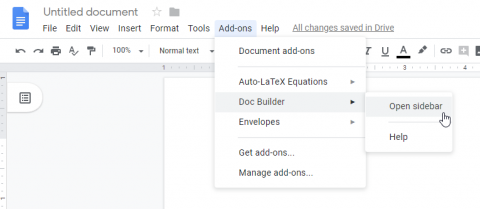
From the Add-ons menu, you can select Doc Builder -> Open Sidebar.
A sidebar with Google Docs from your Google Drive will show on the right side of your document. You can navigate to various folders in your Google Docs folder, but the first time you use the add-on you will see some example snippet files you can use.

Clicking on a snippet will insert the contents of the snippet directly into your document.
Creating snippets
A snippet for Doc Builder is basically a Google Document. They can be organized by folders, which helps you find the snippet you want to use quickly. The text of the document is the snippet that is inserted into the your document that you are writing. The name of the document can be anything you want, but it probably helps if it describes the snippet.
For example, I started to create some words of encouragement snippets. This can be a tedious process, but Google does have some design choices that takes some of the work away.
First, I opened up Google Drive and navigated to the folder where I wanted to store the snippets. I then created a new document, and entered my words of encouragement (You’ve got it made!) into the body of the document. The name of the document at this point is still Untitled document, but as soon as you click on the title to rename the document, Google Docs helpfully grabs the first line of the document and sets the name of the document to it.
Doc Builder will add everything in the snippet document, including drawings. If you use badges or graphics, you can place those in a document by itself, and insert it with Doc Builder. Here’s an example of a badge I created that I can now insert into any document.
![]()
Sharing snippets
Since the snippets are housed in folders, you can share snippets by sharing the folder. You also have access to Team Drives, so if you are using a Google Team Drive with other teachers, you or others can place snippets in that folder.
What could be in the snippets?
Document templates, sample activities, standards/outcomes, assessments, and more can be created and saved as snippets. Parts of parent letters could be saved as snippets.
Look at documents you have created in the past. Are there paragraphs or sentences that you use over and over? Setting up the snippets may take awhile, but in the long run, they will save you time.