Creating 8-bit characters in Google Sheets for use in student creations
Teaching students to be good citizens and makers requires the knowledge of copyright and of the ability to create your own content. Drawing characters for comics, cartoons, Scratch, etc. can be difficult. Students want their work to look good, and when they can’t draw items that look good, they get discouraged. This past week I had a student ask about drawing 8-bit characters. These characters are meant to remind you of early gaming systems, and as such, are low resolution and blocky. After I was asked, it hit me that it should be possible in a spreadsheet. Through trial and error, I came up with a way to easily create 8-bit characters in Google Slides. Once the character is created, the background can be removed, giving the student a character with a transparent background which is easily used in different ways. The icing on the cake is the ability to do this entirely from a Chromebook.
Setting up Google Sheets
For the creation of characters, I set up a Google sheet that was 32 columns wide and 32 rows tall, giving a pretty spacious canvas for my creations. Once I deleted the rows, I resized the columns and rows down to be smaller squares and turned off the grid lines under the Edit menu.
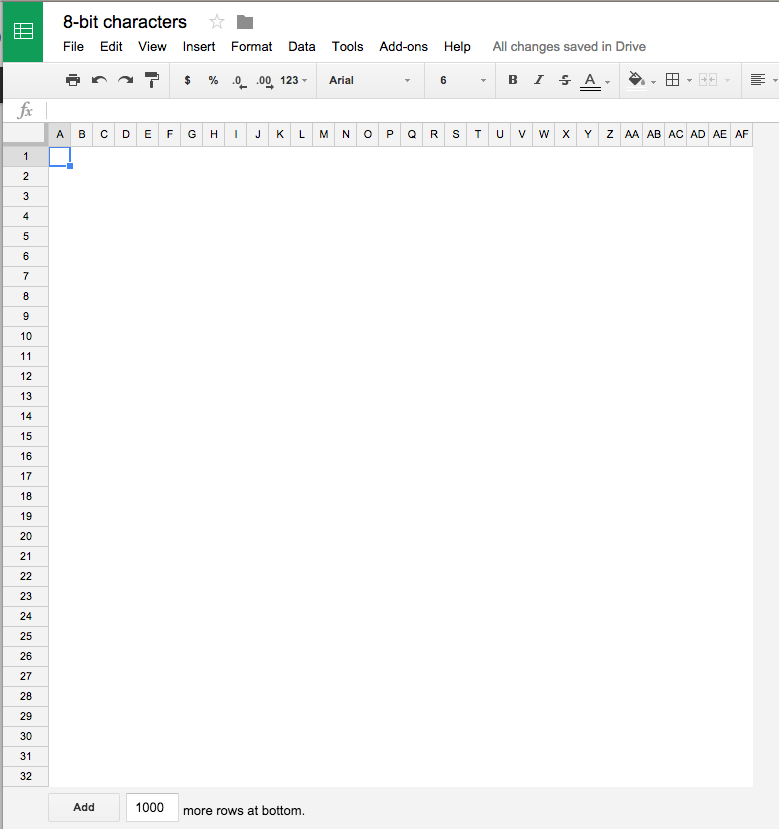
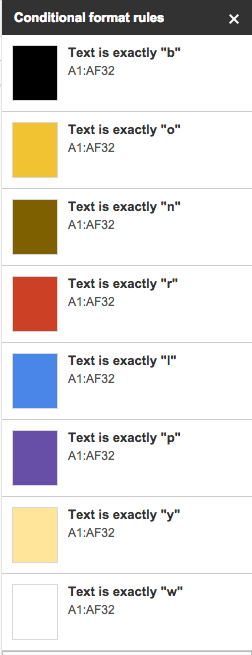
The next piece of the puzzle is to abuse the conditional formatting rules in Google Sheets. Conditional formatting allows a cells format to change based on the content of the cell. I set up 8 rules. Each rule affects the whole sheet and basically sets the background color of the cell and the text color of the cell to be the same based on the content of the cell. Putting a b in a cell makes it black, an o makes it orange and so forth.
Drawing
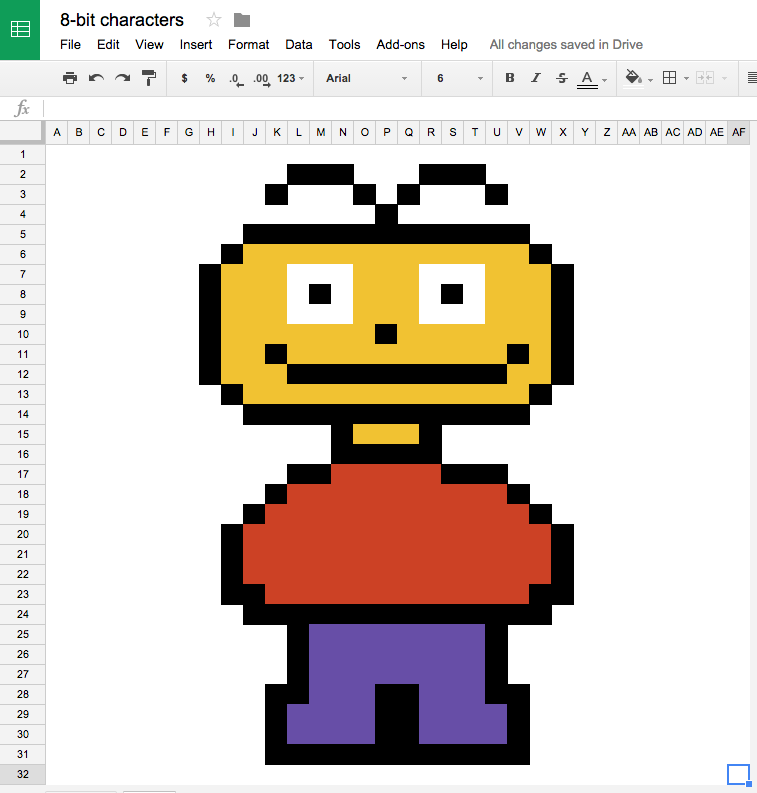
To draw a character, I put the letter of the color I want in a cell. It goes pretty quickly, and you can use most of the spreadsheet editing tools such as fill downs and copy/paste. Be sure to check the Conditional Formate rules after using cut/copy/paste. I’ve noticed sometimes the range for each rule gets changed from the default A1:AF32 and I have to reset them.
My finished character Bub:
Converting Bub into a picture
Bub to .png
The Nimbus Screenshot and Screencast Chrome Extension is my preferred screen capturing software for the Chromebooks. Once it’s installed, it adds an icon to the toolbar, and clicking it gives you various ways of capturing the screen.
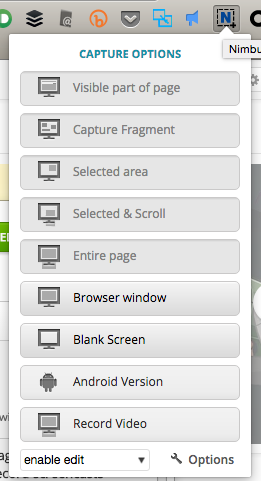
I’m going to use Selected Area and capture Bub to a file.
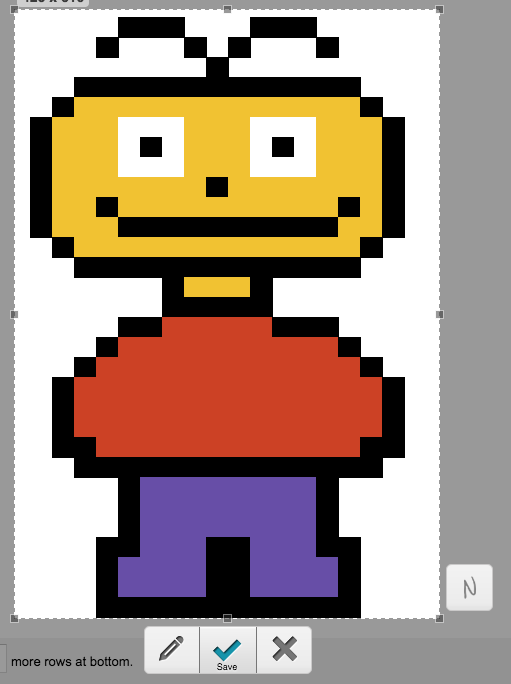
Clicking the checkmark saves the screenshot as an image.
Make .png transparent
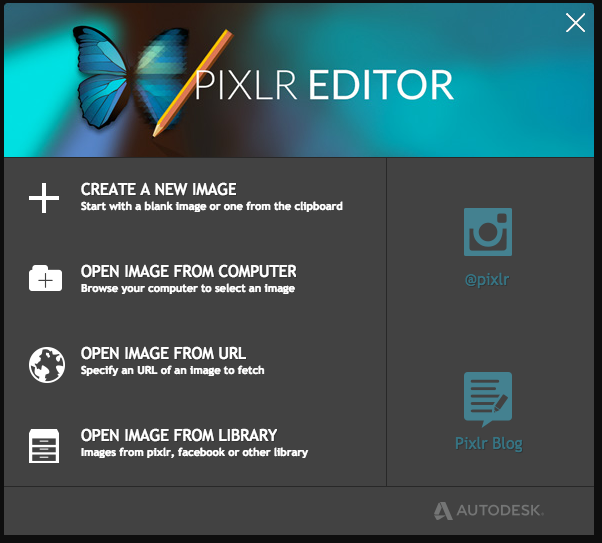
Our final step is to load Bub into Pixlr Editor. An account isn’t needed, you can open the image directly into Pixlr.
Using the wand tool (![]() ), click on the background, which will then be selected. In the Layers window, the background layer needs to be unlocked. You can do this by double-clicking on the lock.
), click on the background, which will then be selected. In the Layers window, the background layer needs to be unlocked. You can do this by double-clicking on the lock.

With the background still selected, hit the Delete key on the keyboard, which will delete the background and replace it with a checkerboard pattern. The checkerboard pattern is a stand-in for what will be transparent in the image. From the File menu in Pixlr you can save the image with a transparent background directly to the machine.
Ta da!
Bub is now a nice transparent .png file that I can use anywhere. And he is mine, without any copyright restrictions.

The spreadsheet
To save you set up time, you can make a copy of my spreadsheet. Duplicate the first sheet for a blank slate on creating characters.
I would love to see some of your student’s creations, tweet me a picture @eduk8me and I’ll publish them here on my site.
Tip: Once a sheet is duplicated, you can adjust the colors and they will only affect that sheet
