Let’s talk about Mac backups
I was browsing Reddit instead of working, and stumbled upon I just lost all my writing.
Let’s add this as a warning for anyone using a newer Mac (since they started adding the T2 chip for security).
- iMac Pro
- Mac mini introduced in 2018
- MacBook Air introduced in 2018 or later
- MacBook Pro introduced in 2018 or later
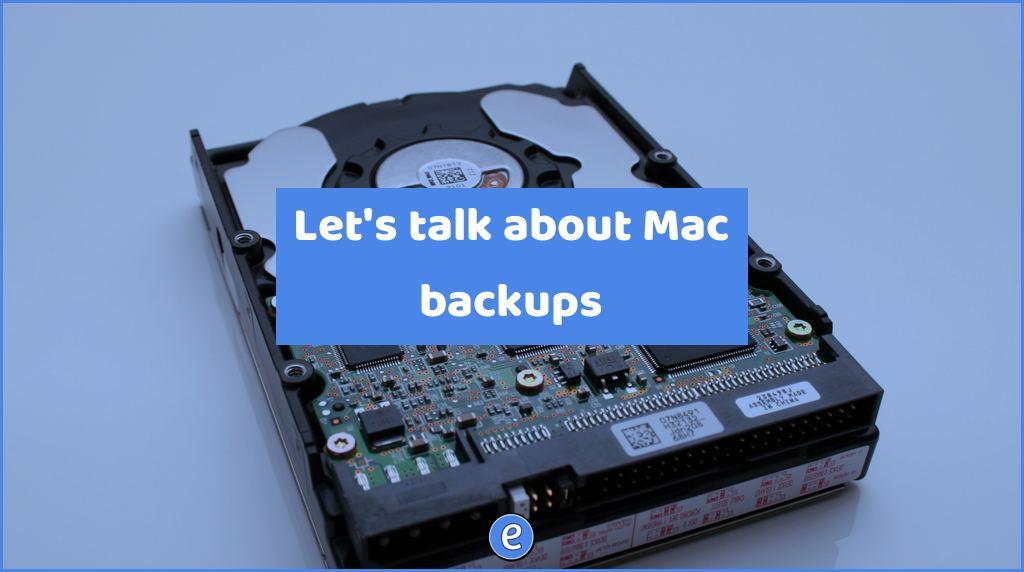
If the computer suffers a hardware error, there are no recovery options for the storage drive (the SSD). The drives are encrypted with a key stored in the T2 chip that is not accessible. This means that the SSD cannot be pulled from the machine and used in another for recovery purposes.
Even if your computer does not have the T2 chip, recovery options from an SSD are very difficult, if not impossible. A backup system is almost a requirement if you want to make sure you always have access to your files.
Here are a few options for backing up.
Step 1:
Apple expects users to use iCloud and/or Time Machine for backup and recovery. On a Mac, go to System Preferences -> iCloud and turn on iCloud Drive. Under options, you can tell iCloud Drive to sync your Desktop and Documents folder, allowing those two folders to be automatically backed up. This will not protect you for accidentally deleting files, that’s step two. Apple only gives you 5GB of space, with the 200GB tier costing $2.99/month.
Step 2 – Local backups:
Buy an external hard drive and plug it in. This can be a thumb drive or hard drive. You may need an adapter if you only have USB-C on your device, or buy a hard drive with a USB-C port. macOS will ask if you want to use the external drive as a Time Machine source, select yes. The Mac will keep versions of files, protecting you from changes or deletions. If you are using a thumb drive you may have to use the exclusions list to save space.
Most Macs support Power Nap, which will allow the Mac to back up to a Time Machine backup while plugged in and asleep. If you have a Mac laptop, you can store the hard drive where you charge the laptop at night. Plug in the external drive when you plug in the laptop to charge.
macOS will warn you if you haven’t backed up to Time Machine for a length of time.
Step 3 – Remote backups:
A few options for remote backups.
- Use multiple drives for Time Machine, and cycle them offsite (work, friends house, etc.). You may want to set up encrypted Time Machine backups so you don’t have to worry about the drive being lost or stolen.
- Dropbox, Google Drive, Onedrive, Box, etc. Sign up with a cloud service and either store your files in their folder or copy your files religiously to the sync folder.
- Online backup service like Backblaze. For $5 a month Backblaze offers unlimited storage.
In conclusion
Apple wants your files to be private, but this privacy comes at the cost of safety. No matter what your comfort level is, you can find a backup routine that will work for you.


