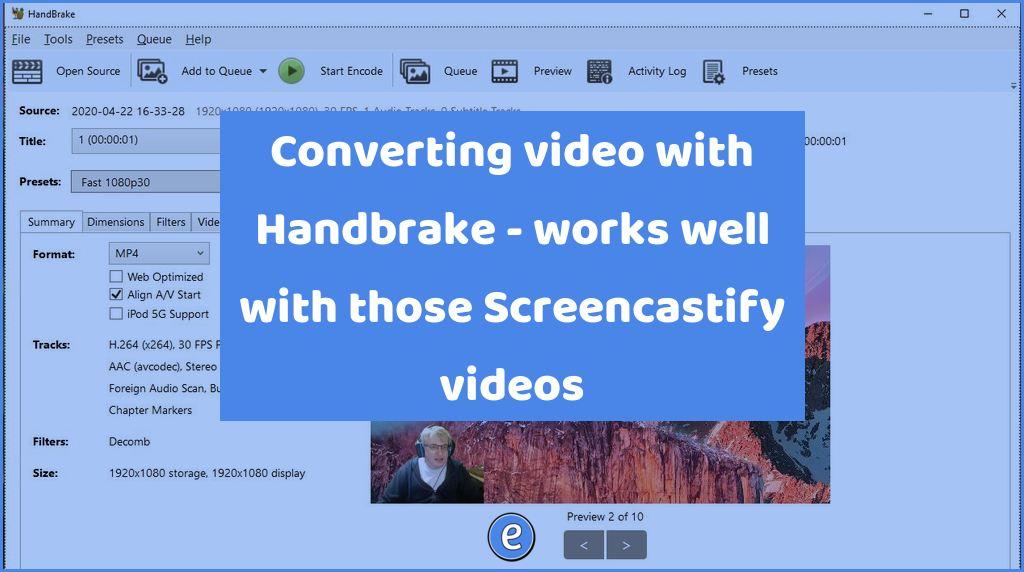
Converting video with Handbrake – works well with those Screencastify videos
When using Screencastify (or most of the screencast software offerings for Google Chrome) the file format for the video is .webm. Unfortunately, this format isn’t very compatible with video editing software such as Adobe Spark. So, let’s convert!
File formats and conversion
Video files can come in many different formats. You’ve probably seen .mp4 or .m4v. These files can be pretty much used anywhere. But what are .webm files? The .webm format was created to be a royalty free video format that can be used on the web. The browsers allow developers to encode video in .webm for free, so a lot of extensions use the format including Screencastify. And this works really well, except when you want to use the video in another app such as the Adobe Spark Video editor. CloudConvert will convert the video to .m4v or .mp4 for you, but there are limits to the free service which makes it a non-starter for a bunch of students in the school. That’s where [Handbrake](TK) comes to the rescue.
Getting Handbrake
Head on over the the HandBrake homepage and download the version that will run on your computer. HandBrake will run on certain Chromebooks, those that have Linux support and that the administrator has turned it on for students. The chance of that is currently pretty slim, but it will get better as Chromebooks are upgraded. For those Chromebooks without Linux support or if you are an Apple iPad school, you’ll need to find someone else to do the conversion or use a remote desktop service such as Paperspace.
Using Handbrake
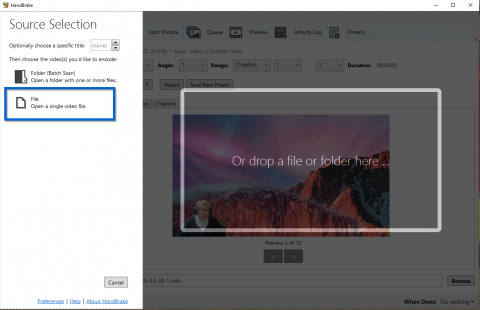
Usage of the program is pretty straight forward. Select the file you want to convert by opening the movie file in Handbrake.
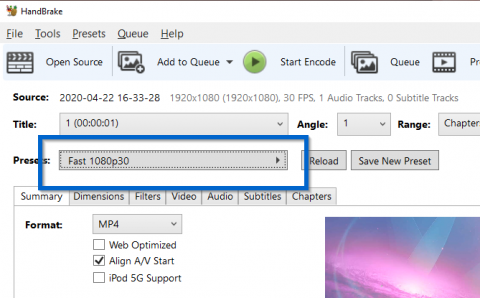
The defaults work well. Handbrake is a powerful program and can be overwhelming. Select the Fast 1080p30 preset.
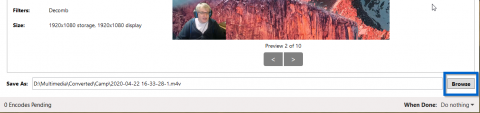
We need to name the file and put it in the folder where we can find it later. Click on Browse in the bottom right of the window.
Select a folder to save the output video file in and give the file a name. Finally, click Start Encode. This will take awhile, even on a beefy system. My home desktop encodes at a little over 2x speed, so I take the length of the video and divide by two for an estimate on how long it will take.
Batch encoding
If you need to convert video for a lot of students, you can use Handbrake to batch the encoding process and let it run overnight. After you set up the first job, instead of clicking Start Encode, click Add to Queue. It will look like nothing has changed, but trust Handbrake. In the toolbar you’ll see the Queue button now has a (1) on it to denote that there is one file in the queue. To add another file to the queue, click Open Source and follow the directions you did above, except click Add to Queue after each file. When you are ready to start encoding, click Start Encode before you go to bed. By morning all of the video files will be encoded. I use a folder in Google Drive File Stream to save the videos, that way I can use Google Drive to share the video file back with the student.