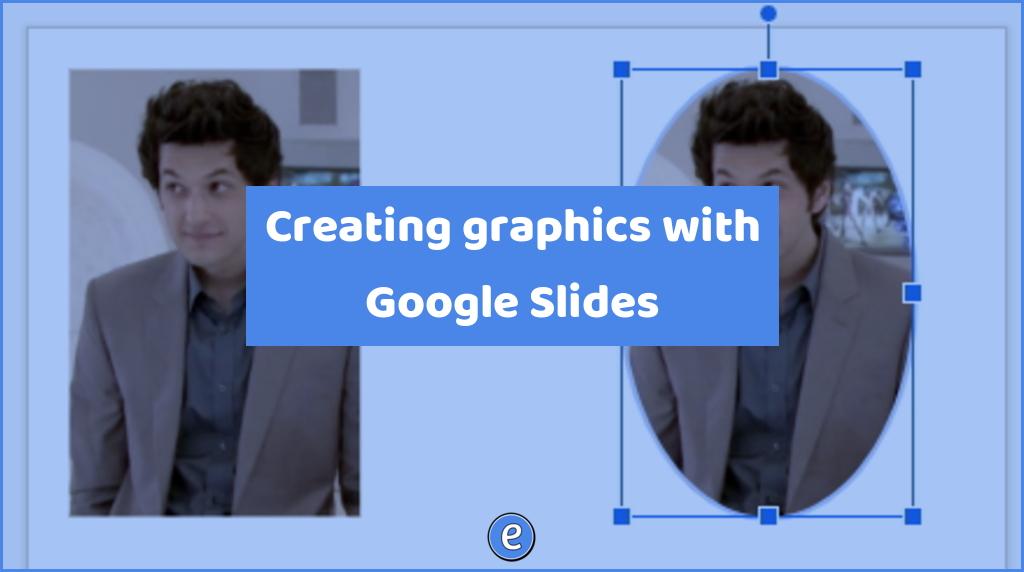
Creating graphics with Google Slides
Google Slides is not just for presentations. It can also be used to create graphics for documents, websites, or social media.
Why not Google Drawings?
Google Drawings is usually the go to for creating graphics, and it does have one big advantage over Google Slides. The graphics you create in Google Drawings can have a transparent background. But, Google Drawings are limited to only one graphic per file. Google Slides let’s you make several graphics per file. The size of the graphic in Google Slides can be set, but Google Drawings allows the user to easily resize the canvas, which could cause issues.
That being said, there are times when Google Slides makes sense and times when Google Drawings make sense, it depends on the task at hand.
Setting up Google Slides
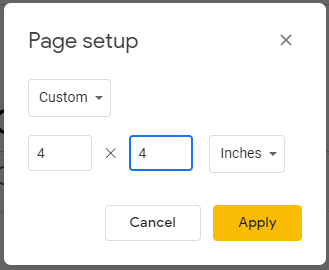
After creating a new Google Slides presentation, the first thing you’ll want to do is set the size. By default, it’s a widescreen format. This is great for presenting, but not so great for Instagram. To change the size, go to File -> Page Setup. Click where it says Widescreen 16:9 and select Custom.
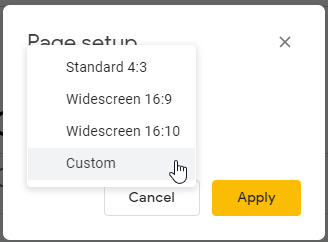
From there, you can set a size for your graphic, I usually keep it on inches. Four by four inches give me a nice square graphic.
Now you have a nice square slide to work on your graphic.
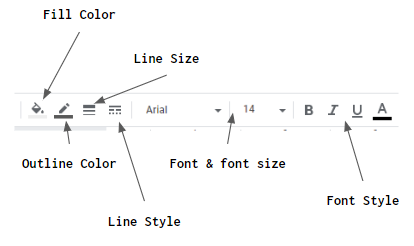
A run through of the drawing tools
The drawing tools are pretty self-explanatory, but there are some features that might not be easily discoverable.
Cropping
After adding a picture, the picture can be cropped a couple of different ways.
Square crop: Click on the picture, and then the Crop tool in the toolbar.
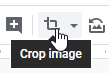
The black crop tools show up on the picture, allowing to you crop the picture.
You can also double-click on the picture to get the crop tools.
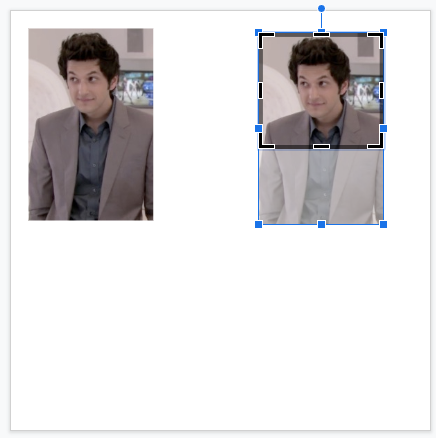
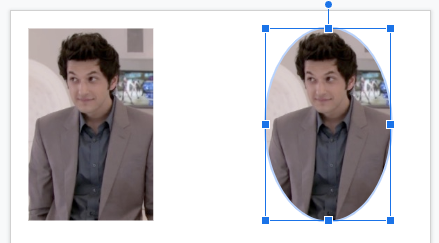
Masking: Along with the crop tool is a masking tool. Click on the picture, and then click the dropdown beside the crop tool.
I selected the circle tool, and now the picture is clipped to a circle.
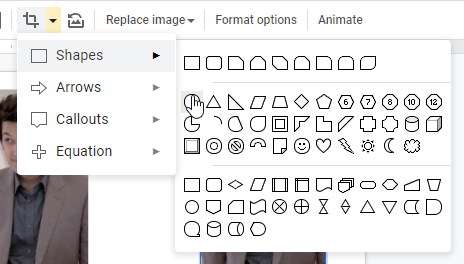
Using Shapes
Each of the shapes in the Shapes Tool can be modified and used as text boxes.
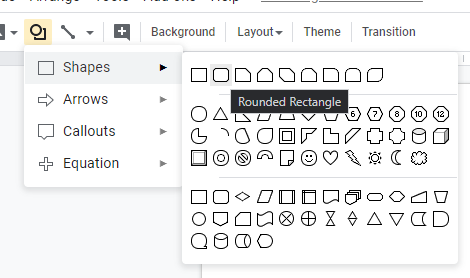
When you click on a shape, you can modify its attributes.
After adding a rounded rectangle, you can do all sorts of things to it.

Finding inspiration & other tools
To find inspiration I head on over to Google Images and start searching. When I find a design I like, I recreate it in Google Slides, putting my own spin on it.
Once you outgrow Google Slides, check out Adobe Spark and Canva. Both are free for teachers and students. In my opinion, Spark is a little easier to use but Canva has a ton more templates.